The Deliberate Art of Cutting the Wedding Cake
The days, weeks, and months leading up to a wedding are fraught with tension, drama, jitters, and a healthy dose of anxiety; there are a lot of moving parts to this once-in-a-lifetime occasion that need to be taken care of with the minimal amount of worry and stress. In the midst of a wedding’s inherent euphoria and celebratory mood, it might be easy to forget to learn how to properly cut a wedding cake. It’s a delicate skill that is just as essential as every other little detail in the wedding itself.
Fortunately, the actual operation only consists of a few basic steps that need to be executed with confident precision. Peter Knott, a Technologist at Marks & Spencer, demonstrates how simple cutting a wedding cake should be.
First, make sure to put a damp cloth under the cake board to ensure a solid base that will prevent the cake from moving around the cutting surface. Next, remove any decorations away from the cake: flowers, ribbons around the edge, etc.
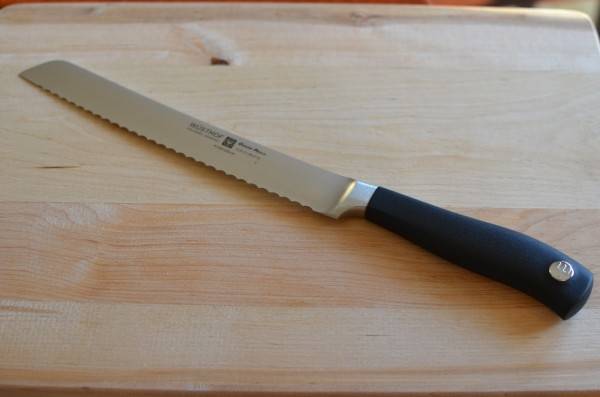
Choosing the correct knife – preferably a straight, long-bladed serrated knife – to cut the cake is absolutely vital to the entire process. Why a serrated knife? Susan Green, a graduate of the Culinary Institute of America and owner of the Birmingham Bake and Cook Company, helpfully explained to the Bakery Boy Blog that serrated knives are simply a better choice for less-dense cakes with textures softer inside and harder outside. Wedding cakes, of course, fit this profile perfectly.
 Image source: Playing with Flour
It’s generally advised to cut lengthwise across the cake, and then cut smaller portions across the side as needed. Don’t forget to clean the blade of the knife with a dry linen cloth between each slice. The actual slicing motion should be a gentle, sawing action all throughout; a common mistake with cake slicing is pushing and/or poking the knife down through the cake, which generally causes the cake to crumble.
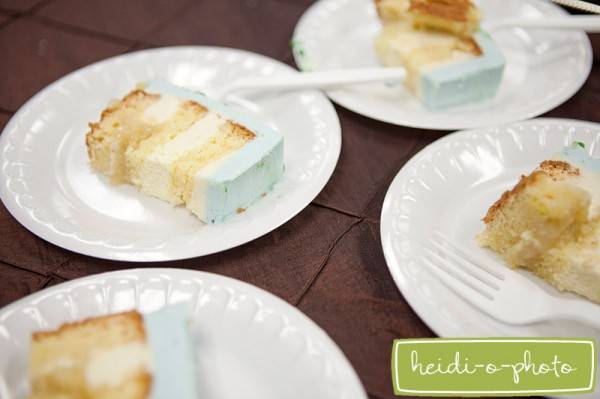
Once all the necessary portions have been cut, carefully place the cake slices into their plates for serving.

Image source: Sweet Cheeks Baking
** This is a guest post **
Leave a Reply